I started a new project: making a grinding plate instead of the ice cream stick I frequently used for scale model assembling.
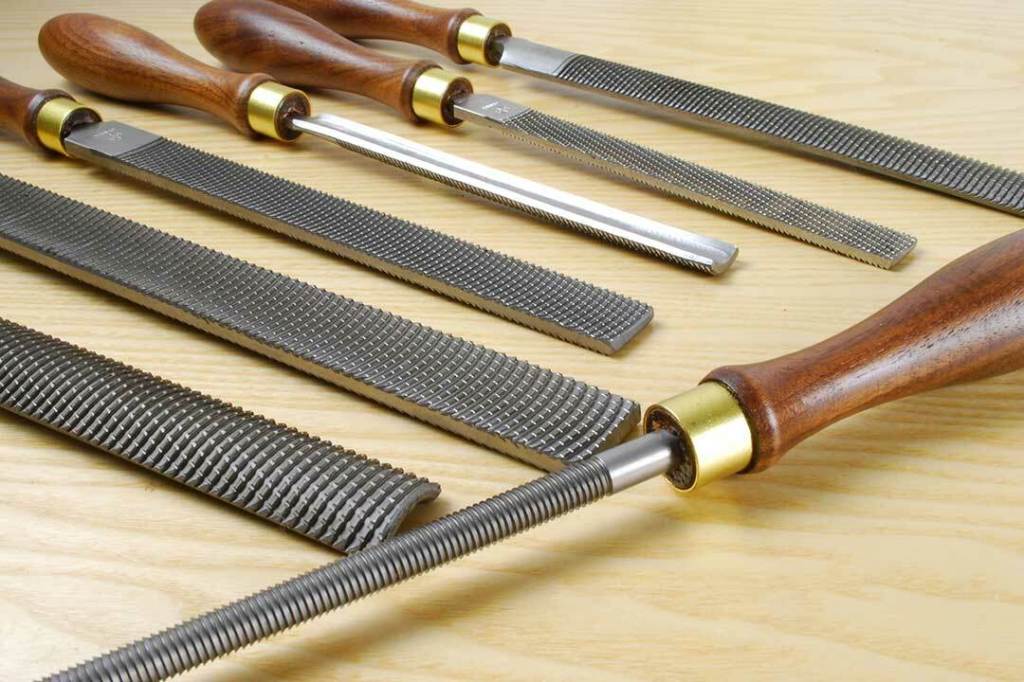
The project doesn’t persuade you to throw out your ice cream stick or woodworking file (Actually, I haven’t seen any plastic scale model player use a metalworking file). They are quite good, providing a basic grinding function at an extremely cheap cost for hobbyists. You can find them when you finish an ice cream or open your grandfather’s toolbox. They are easy to gain from home and even no need to pay.
The ice cream stick and woodworking file allow you to start sanding work from 0 to 1 with a lower budget. However, the two tools are not perfect. The stick was usually made from the birch wood (Betula Pendula), since it is odorless, soft, smooth and safe to make tableware. Yes, a strip can be a fundamental gridding board (it worked quite well, honestly), but it originally was made for one-time use, hence its strength is not … I cannot say it’s not good, but it isn’t suitable for many conditions when you polish your models.
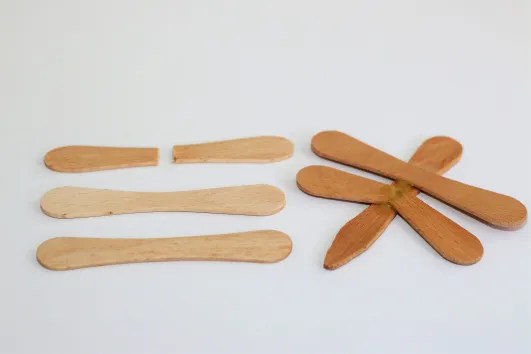
Sometimes you will find it cannot stay straight and flat, due to that you increase the pressure through the fingers. Sometimes the sanding surface is too broad to be covered by a wooden pieces. Besides, the stick usually has a thin thickness that is the reason why it is so easy to break. Yes, I know someone may say: “This is not the tool’s problem, it is triggered because you are clumsy! ” I agree, but nothing can stop an amateur from finding a better solution.
Here is my plan. To increase the strength, I picked teakwood. Its quality is pretty stable and tough, which is why it was once used in the deck materials of battleships, especially the IJN, during World War II. To improve the reliability further, I bought pieces of teakwood hub with 8 mm thickness, 30mm width and 60 mm length. The block is almost a little brick, or a Chinese Mahjong tile, dense, solid, and reliable in the hand.
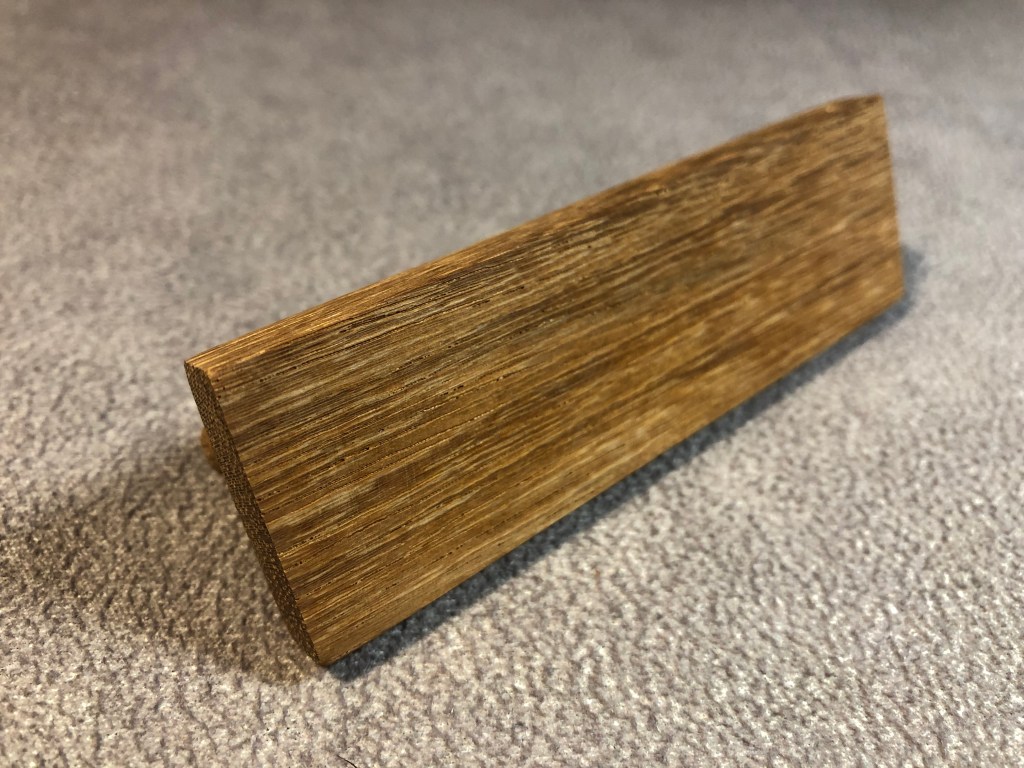
My design is a flat plate with an inverted T-shaped cross-section, and the vertical lines of the T letter are handles, which shall be refined using experience, better for relieving the soreness of tendonitis. Initially, the handle wood component’s length and thickness were the same as the flat plate, 60mm and 8mm, but its width (or height) was shorter, only 20 mm (the plate was 30mm wide).
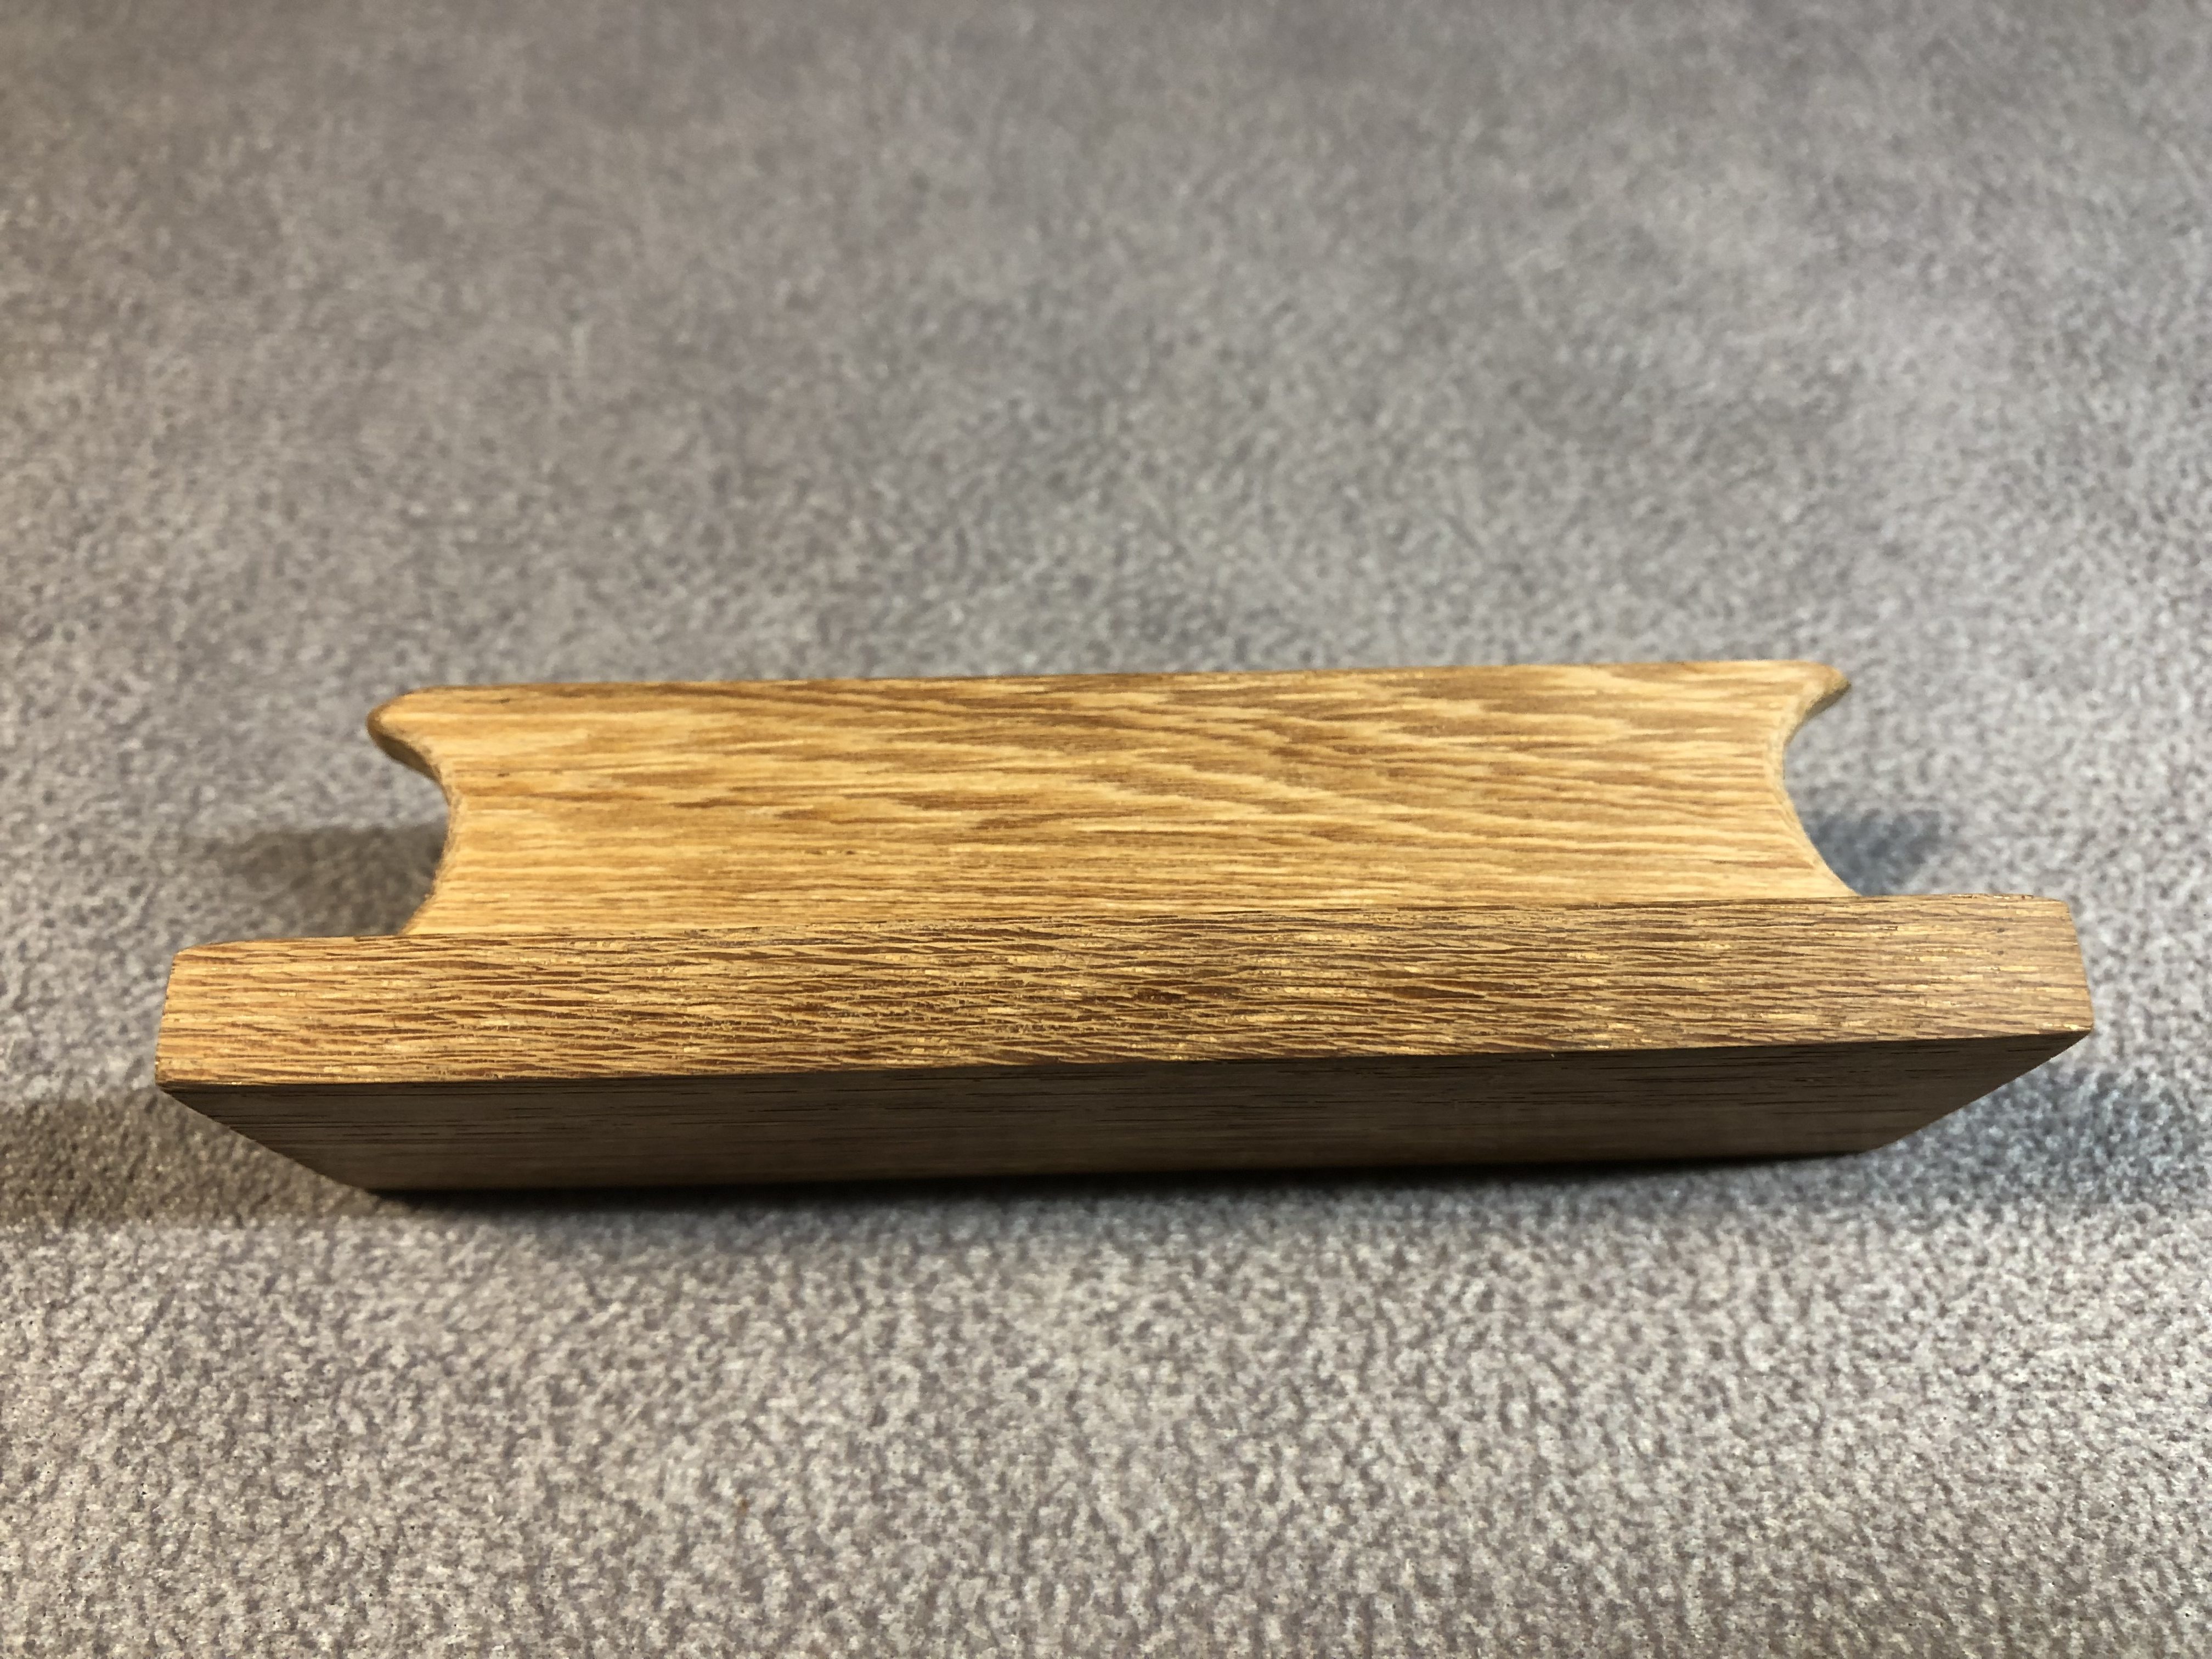
The size of the handle generates an obstacle because the 60 mm length is too long to be held by my thumb and middle finger. As the modification, I sawed two semicircles on both ends of the handle (each one’s radius is about 8 mm), which reduced the length of the handle, enhancing the comfort of holding the handle with fingertips. Also, using a milling cutter of the electric grinding pen, I chamfered the edges of both semicircles, strengthening the comfort. However, the new approach leads to a new challenge, that is, the semicircles narrow down the distance between my fingers and the back of the plate. Maybe it is hard to understand the meaning of the limitation, so I will continue to explain it.
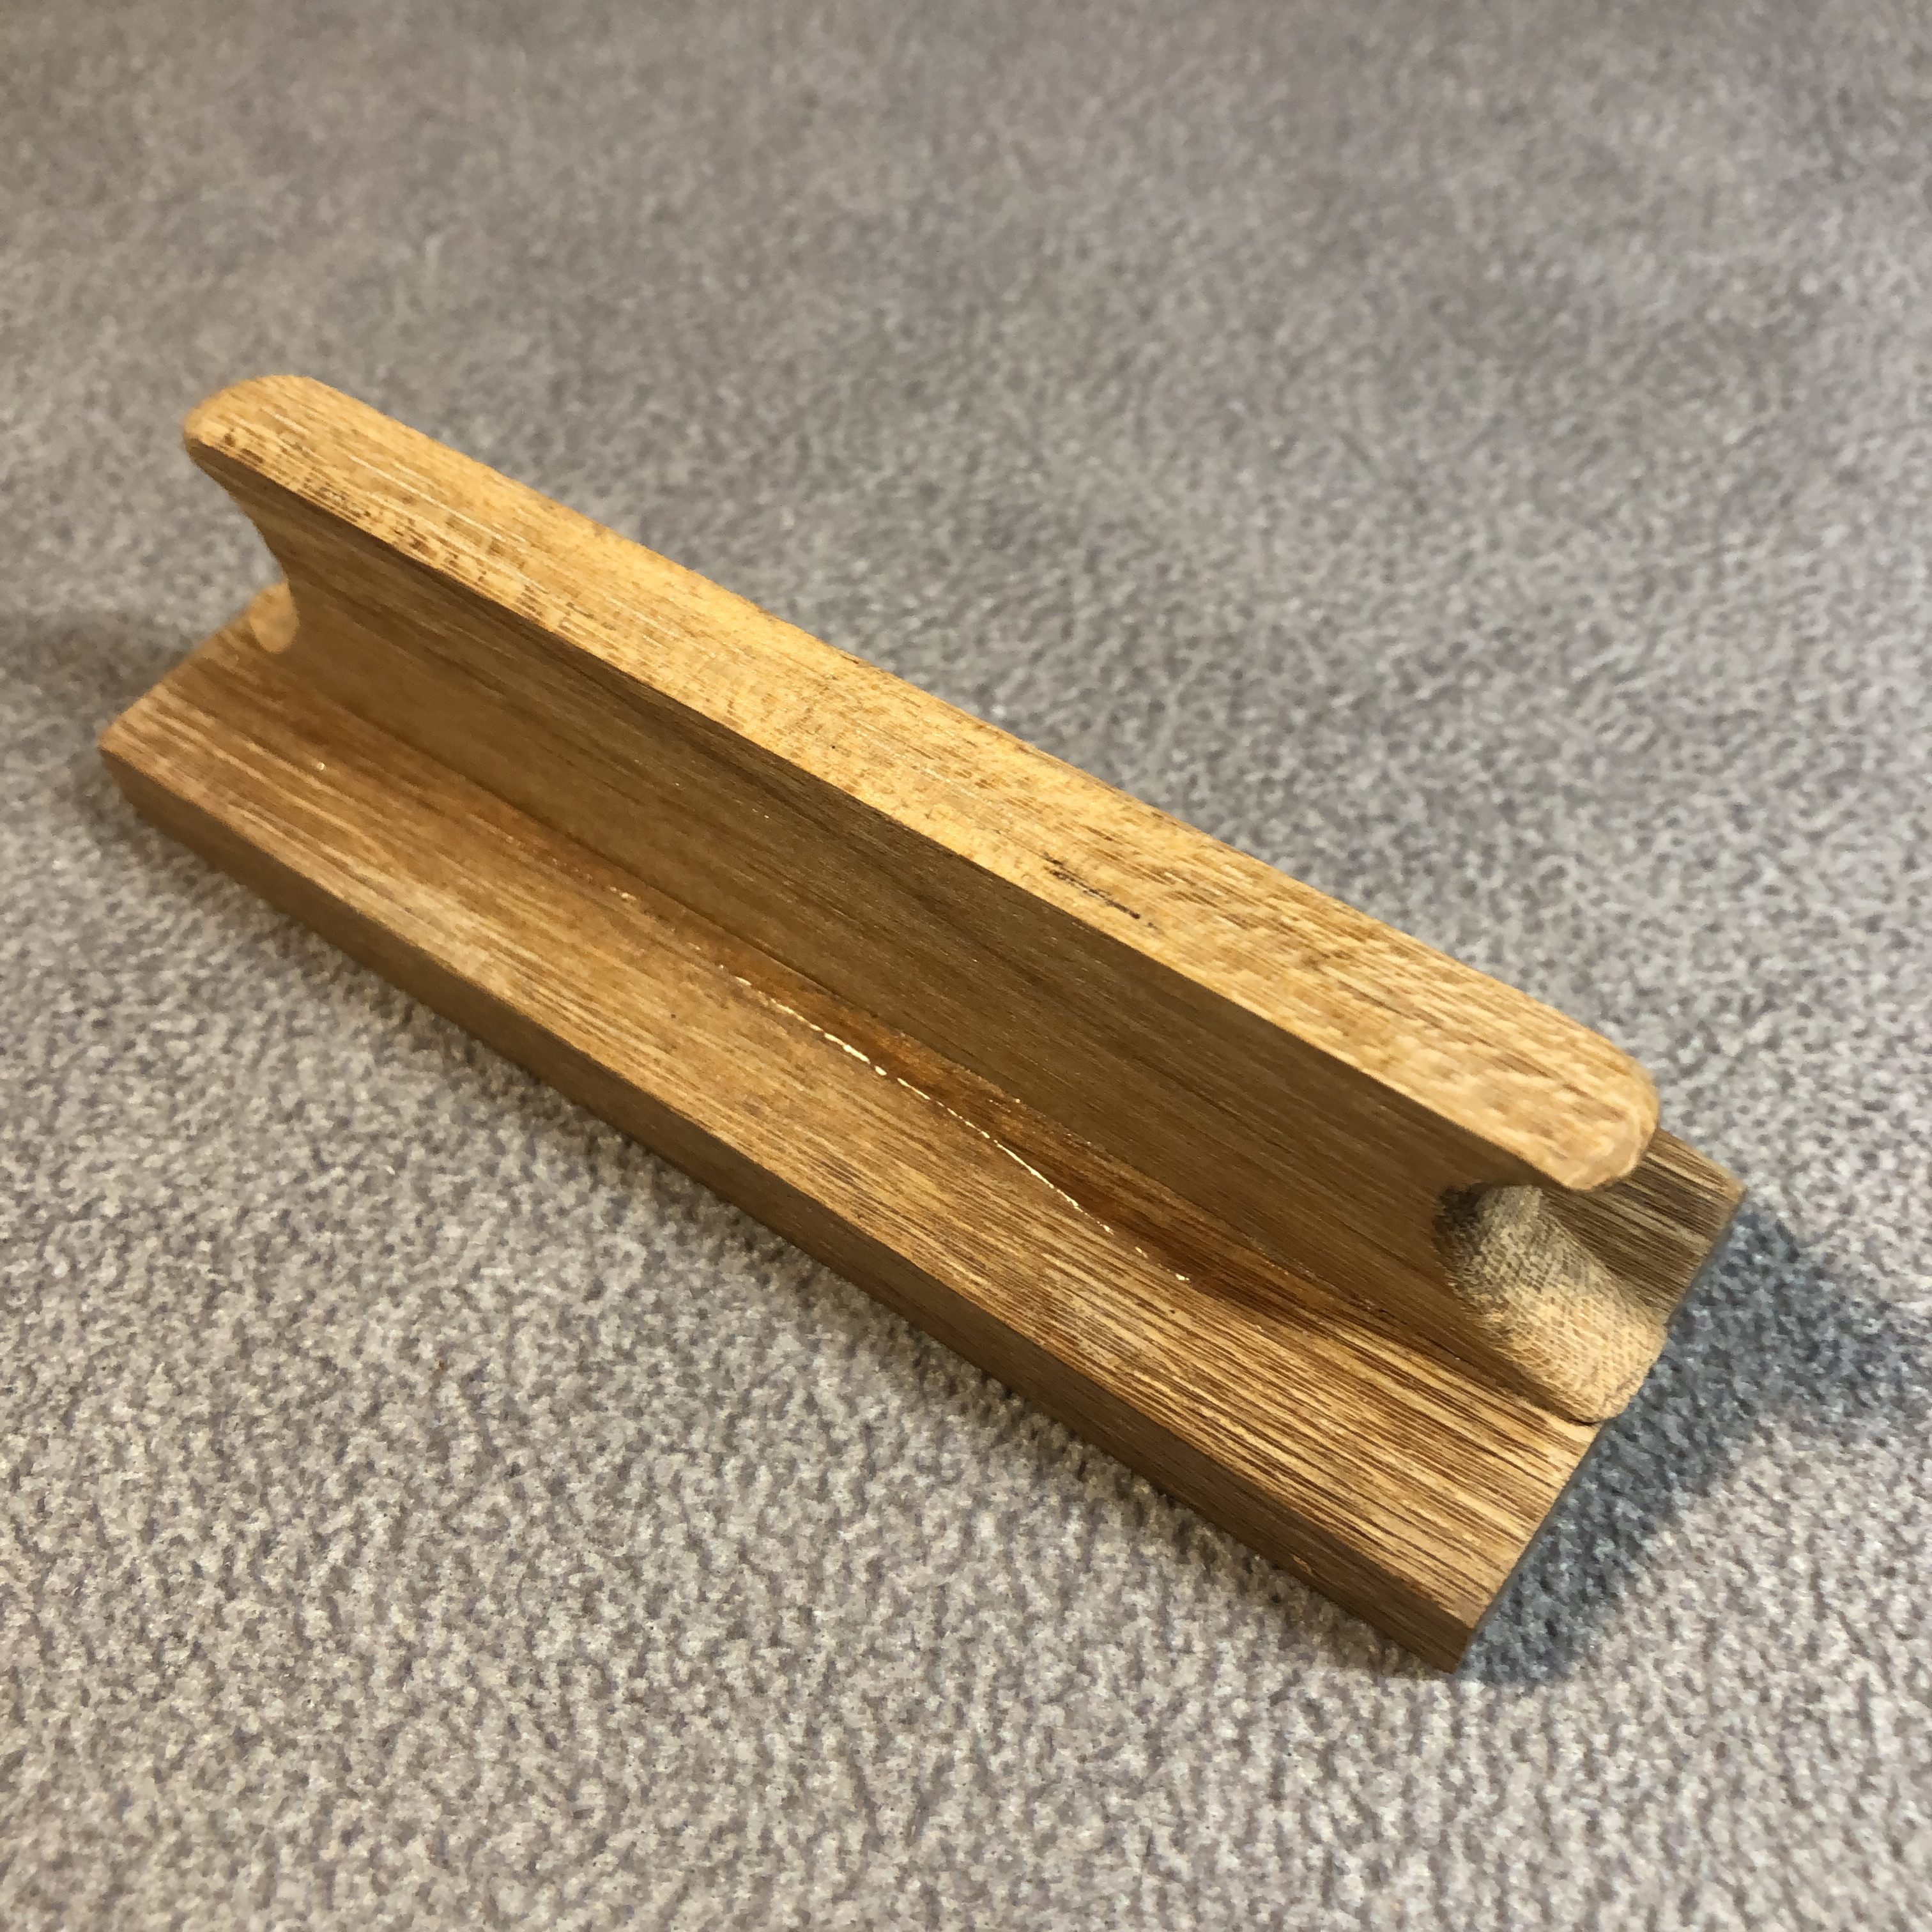
Due to that, there is a semicircle on each end of the handle, which constrains my fingers’ actions when polishing an object. In short, the handle limits my fingers; thus, I have to keep a specific angle to do grinding work. This is unacceptable because the angle probably strains my thumb and cannot adapt to all object shape circumstance. The two semicircles’ radii are too small to allow fingers to act freely, and the radius depends on the height (width) of the wooden block. Hence, it looks like there are merely two ways to fix it: extending the height (width) of the wood, or changing a higher part.
I finally decided to make a new handle with the same size as the flat plate (30 mm), and now I am making it. When I finish it, I will write a new post, telling you the result.
▷ To Be Continued…

Leave a comment